Consultation Hotline
+1 (302) 618-8777
+1 (302) 618-8777
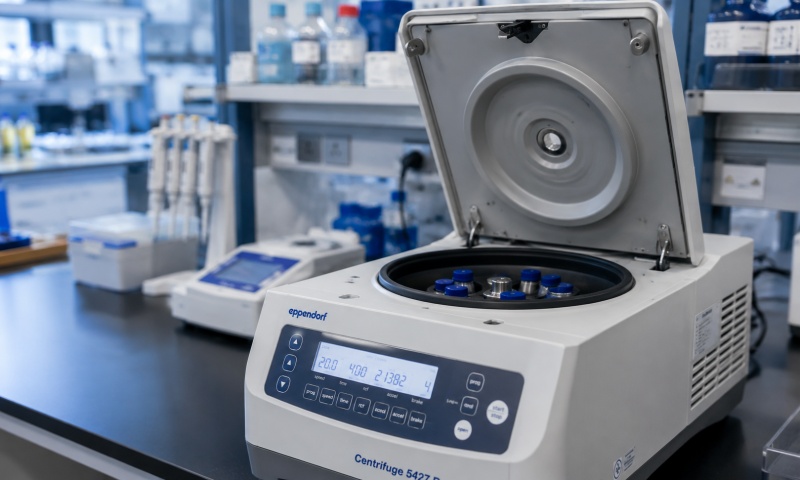
A centrifuge rotor that cannot be removed from the drive shaft is a common but serious maintenance issue in laboratory centrifuges. This problem can interrupt workflow, increase downtime, and in severe cases cause damage to both the rotor and the drive system. Understanding the underlying causes and applying correct removal techniques is essential for safe and effective maintenance.
One of the most frequent causes of a seized rotor is electrochemical corrosion at the interface between the rotor and the drive shaft. This often occurs in high-humidity environments or when chemical spills (such as buffers, salts, or acids) are not cleaned properly after use.
Symptoms:
Rotor appears “fused” to the shaft
No visible movement even after loosening the locking nut
White or brown corrosion deposits at the interface
Solution:
Apply a suitable penetrating lubricant (laboratory-grade, non-reactive)
Allow sufficient soaking time (30–60 minutes or longer)
Gently apply alternating upward pressure while rotating slightly
If available, use a rotor puller tool designed for centrifuge systems
Prevention:
Always clean rotor and shaft interface after spills and ensure complete drying before storage.
Excessive tightening of the rotor nut or locking screw can create mechanical stress, making removal difficult.
Symptoms:
Rotor feels mechanically “locked”
No signs of corrosion
Recent installation or maintenance history
Solution:
Use the correct manufacturer-specified rotor wrench
Apply steady, controlled counter-clockwise torque
Avoid impact force, which may damage the drive shaft
Prevention:
Follow recommended torque specifications and avoid unnecessary over-tightening during installation.
Repeated high-speed operation can generate heat, causing thermal expansion of metal components. After cooling, slight deformation or tight fitting may trap the rotor on the shaft.
Symptoms:
Rotor stuck after long high-speed run
No corrosion or mechanical damage visible
Problem appears intermittently
Solution:
Allow the centrifuge to reach room temperature
Apply gentle upward force after thermal stabilization
Use mild heating of the outer rotor (not the shaft) if manufacturer permits
Prevention:
Avoid immediate disassembly after high-speed runs; allow cooling time before rotor removal.
Spilled biological samples, salts, or buffers can dry and form adhesive residues between rotor and shaft, effectively bonding them together.
Symptoms:
Sticky resistance during removal
Visible residue or crystallization
Rotor partially movable but stuck at final stage
Solution:
Clean exposed areas with distilled water or approved cleaning solution
Apply solvent compatible with rotor material (avoid corrosive agents)
Use repeated gentle rocking motion to break adhesion
Prevention:
Regular decontamination after each use and immediate cleaning of spills.
In rare cases, improper installation or imbalance at high speed can cause shaft deformation or rotor hub distortion, resulting in a permanent mechanical lock.
Symptoms:
Rotor completely immovable even after lubrication
Abnormal noise before failure
Visible mechanical misalignment
Solution:
Do not apply excessive force, as this may worsen damage
Contact authorized service engineer
Replace damaged shaft or rotor assembly if necessary
Using incorrect tools or applying uneven force is a common user-induced cause of rotor sticking.
Symptoms:
Partial loosening followed by re-tightening effect
Scratches or tool marks on rotor hub
Solution:
Always use designated rotor removal tools
Apply vertical lifting force evenly
Avoid prying with screwdrivers or metal levers
Prevention:
Train operators on correct rotor handling procedures and use manufacturer-approved tools only.
To minimize rotor seizure risks, laboratories should implement the following practices:
Clean rotor and shaft interface after every use
Avoid exposure to corrosive chemicals
Follow torque specifications strictly
Allow cooling before disassembly
Perform periodic inspection of shaft condition
Use anti-corrosion coatings if recommended by manufacturer
A centrifuge rotor that cannot be removed is typically caused by corrosion, over-tightening, thermal effects, contamination, or mechanical deformation. Proper diagnosis is essential to avoid unnecessary force that may damage the instrument. In most cases, controlled lubrication, correct tools, and proper thermal stabilization are sufficient to resolve the issue. However, severe mechanical binding requires professional service intervention. Regular maintenance and correct operational habits remain the most effective strategies for preventing rotor seizure and ensuring long-term centrifuge reliability.